 Whole Scroll
- Home
- Tech Column
- Annotate & export
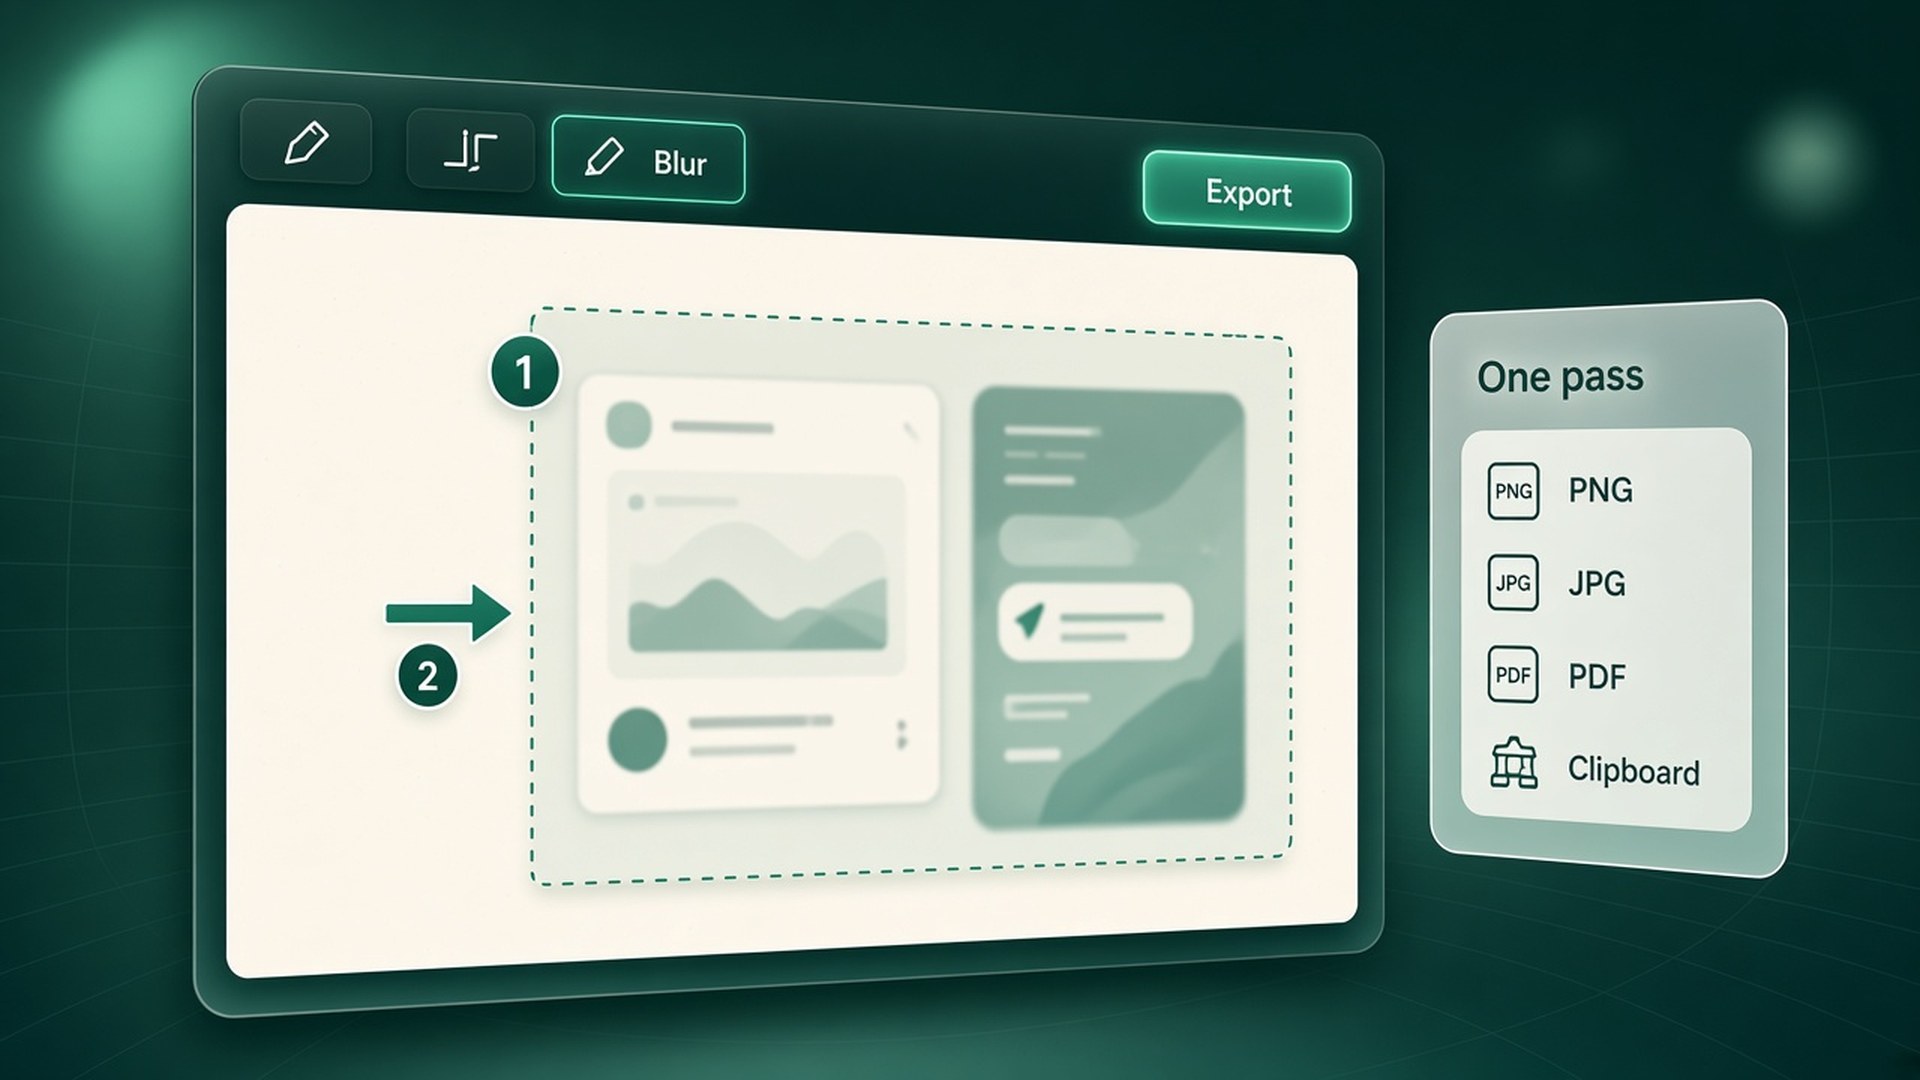
Annotate, blur, and export in one pass
The fastest screenshot workflow is the one that does not leave the browser. Capture, mark what matters, hide what should not travel, and download once — PNG, JPG, or PDF — from the same editor.
Whole Scroll is a desktop browser extension for full page, region, and element capture, with a built-in editor and on-device OCR. Shots stay local.
Why one pass beats export-hopping
A common wasteful loop: capture → download PNG → open a general image editor → re-export → attach. Each hop risks the wrong crop, a missing arrow, or an unblurred email address. Whole Scroll opens the capture in a built-in editor beside the tab so markup and privacy edits happen before the first download.
That matters most on tall full-page shots. Re-importing a 20,000-pixel-tall image into a random editor is slow and easy to mishandle. Editing in place keeps zoom, history, and export in one product surface.
Markup tools on the long image
From Support and the product editor, you can:
- Highlight a line of text.
- Write a note.
- Place an emoji.
- Add an arrow or a step number.
- Draw a shape.
- Blur or pixelate a detail.
- Frame the shot as a macOS or Windows window.
- Optionally show the page address and the date.
The editor fits the capture on screen so a very tall image looks small until you zoom. The file you download is the full captured image (with your markup), not the fit-to-screen preview.
Annotate → blur → export
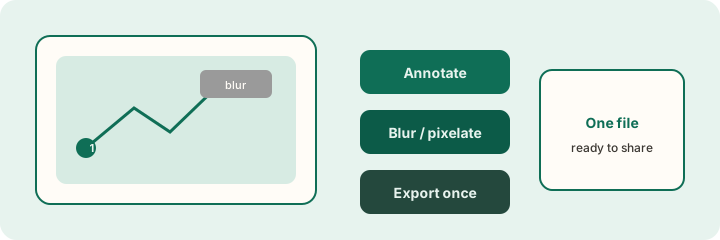
Blur and pixelate before you share
Screenshots are how secrets leak into tickets and group chats. Before export:
- Blur soft fields (names, balances) when you still want to show layout.
- Pixelate avatars or dense text where a mosaic is clearer.
- Prefer redacting in Whole Scroll rather than hoping the recipient will crop later.
Choose PNG, JPG, or PDF
| Format | Fit |
|---|---|
| PNG | Sharp UI shots for tickets, design tools, lossless markup. |
| JPG | Smaller files for chat when mild compression is fine. |
| Email and archives; can keep searchable text/links when the page provides them. |
Unedited PNG/JPG downloads are free. A PDF, or any save after annotate / blur / pixelate / OCR / frame / date / watermark, uses one of the free Pro saves described on Support.
A reliable one-pass checklist
- Capture the right scope. Full page for the document; region/element for a component; delayed shot for menus.
- Zoom to the subject. Place arrows and step numbers where a teammate’s eye should go.
- Redact next. Blur tokens, emails, and customer fields before any decorative frame.
- Optional OCR. Copy text you need in the clipboard while the shot is open.
- Export once to the format the destination accepts.
If you are writing a tutorial, step numbers in the editor beat a separate slide deck for many UI walkthroughs.
History and re-export
The latest 30 shots stay in this browser on this computer. Open History from the Whole Scroll menu to revisit, tighten markup, or export again. Clearing site data for the extension removes stored shots. Downloads you already saved remain in your downloads folder.
Markup patterns by audience
For engineering tickets
Use step numbers and short arrows. Blur customer PII. Export PNG for issue trackers that preview images inline. Mention the page URL in the ticket body even if you also framed the address on the image.
For design critique
Highlight the component under discussion; avoid covering it with opaque shapes. JPG is fine for moodboards; PNG is better when hairline icons matter.
For executives and clients
Prefer fewer annotations and a clean window frame. PDF can feel more “document-like” in email. Redact anything that should not leave the company.
Common mistakes
- Downloading first, annotating later in another app — you lose the one-pass advantage.
- Annotating before redacting — arrows draw attention to the secret you meant to hide.
- Forgetting that edited saves use Pro slots — plan your free saves when testing.
- Sending the fit-to-screen mental model — remember recipients get the full-resolution file.
Combine with OCR and PDF
Nothing stops you from recognizing a label, blurring an adjacent email, and exporting PDF in the same session. The editor is the hub: capture modes feed it; OCR and markup refine it; exports leave it. That is the product shape Whole Scroll optimizes for on desktop Chrome and Firefox.
A light style guide for annotations
- One primary arrow per idea. Extra arrows compete.
- Step numbers for sequences; highlights for single callouts.
- Keep notes short — the screenshot is the evidence, not the essay.
- Match your team’s color norms if you have them; otherwise prefer high-contrast marks on busy UIs.
- Leave margin around blurred regions so soft edges do not reveal glyphs.
Good annotations survive without you on the call. If a screenshot still needs a five-minute verbal tour, add one more step number or crop tighter with region capture next time.
Finally, treat export as a deliberate publish step. Once the file is in Downloads or a chat upload, assume it can be forwarded. The one-pass editor exists so your published version is already the safe, explained version.
Time saved, concretely
Measure a one-pass edit against the old loop. Capturing a settings page, downloading, opening another editor, re-importing a tall PNG, exporting again, and attaching can burn several minutes — especially on dual-pane sites that need a clean stitch first. Whole Scroll collapses that into: capture → mark → blur → download.
Multiply by the number of screenshots a support or QA person sends per week and the editor stops looking like a convenience feature. It is the difference between “I illustrated the bug” and “I only described it because markup was too slow.”
What is free vs Pro
From the live Support page:
- A PNG or JPG you have not edited is free.
- A PDF, or a save after annotate / blur / pixelate / OCR / frame / date / watermark, uses one of 6 free saves.
- You can start a 7-day trial. If you keep it, the standard price is $8 a year. Cancel anytime from the account page; access continues through the time already paid.
Need help with a capture or billing? See Support or email [email protected].
Why one-pass markup beats a round-trip editor
The usual habit is capture → download → open in a separate image app → mark up → re-export. Every hop creates another file name, another chance to paste the wrong revision into Slack, and another copy of a sensitive screen sitting in Downloads. Doing arrows, steps, blur, and frame in the same editor that just finished the stitch keeps a single source of truth until you deliberately save.
Whole Scroll’s editor is built for that pass: markup sits on the capture, blur and pixelate cover secrets before anyone else sees the file, and PNG, JPG, or PDF leave only when you choose Download. History keeps recent local shots so you can reopen and adjust without hunting the disk.
A practical order of operations
- Capture the bounds you need (full page, screen, region, or element).
- Crop or reframe if the stitch includes chrome you do not want to share.
- Blur or pixelate emails, IDs, avatars, and tokens first.
- Annotate with arrows, numbered steps, and short labels.
- Optional frame / date / watermark for presentation context.
- Export PNG or JPG for chat; PDF when you need a document-style handoff.
Blurring before annotating prevents you from drawing arrows that later force a re-blur. If you need OCR text, run recognition before heavy mosaic — once glyphs are destroyed, OCR cannot help.
Free saves versus Pro tools (accurate product rules)
Unedited PNG or JPG downloads stay on the free path. Tools such as PDF export, annotation, blur, pixelate, OCR, window frame, date stamp, and watermark count toward the limited free Pro-style saves described on Support (then a 7-day trial and the listed yearly Pro price). Plan the pass so one save includes the markup you need instead of burning separate saves on experimental exports.
Sharing without oversharing
- Prefer Element or Region captures for tickets that only need one control.
- Pixelate access tokens and session IDs even in “internal” channels.
- Use steps instead of long paragraphs on the image — put detail in the chat message.
- Keep the original in History locally if you may need an unblurred copy later for yourself.
Share the marked-up shot — not the raw one
Capture, annotate, blur, and export from Whole Scroll without a detour through another app.